Following our initial construction of fast and simple sleeping platforms, we set out to make the microcamper van conversion more liveable with a ceiling vent, insulation, wood panels and some decorative touches.

Vent and fan: Maxxair Maxxfan Deluxe
The Maxxfan Deluxe by Maxxair seems to be the gold standard vent fan for vans and RVs. What sets it apart is the clever rain cover that lets the fan operate in the rain. We got the mid-range model (6200K) that features a 10-speed reversible fan (intake and exhaust). The lower-end model has a 4-speed exhaust-only fan, while the higher-end version has an electric open function and remote control. Since our fan is small, we forewent the remote control and electric open to save a few dollars.
Installing the fan is probably the most nerve-racking part of a van conversion, since it involves cutting a large hole in the roof of your van. There’s no turning back from this.

Luckily, there are countless blog and YouTube tutorials that show the steps in extreme detail. I strongly suggesting reading and viewing at least a handful of different tutorials, because everybody has their own helpful tips. Make a check list of each step so you don’t miss anything.
Some decisions we made with our Maxxfan installation:
- As mentioned above, we got the Maxxfan Delux 6200K model with “smoke” cover, which is a tinted transparent cover, acting much like a tinted skylight. It lets a surprising amount of light into the van during the day, and at night we can see the stars on a clear night.
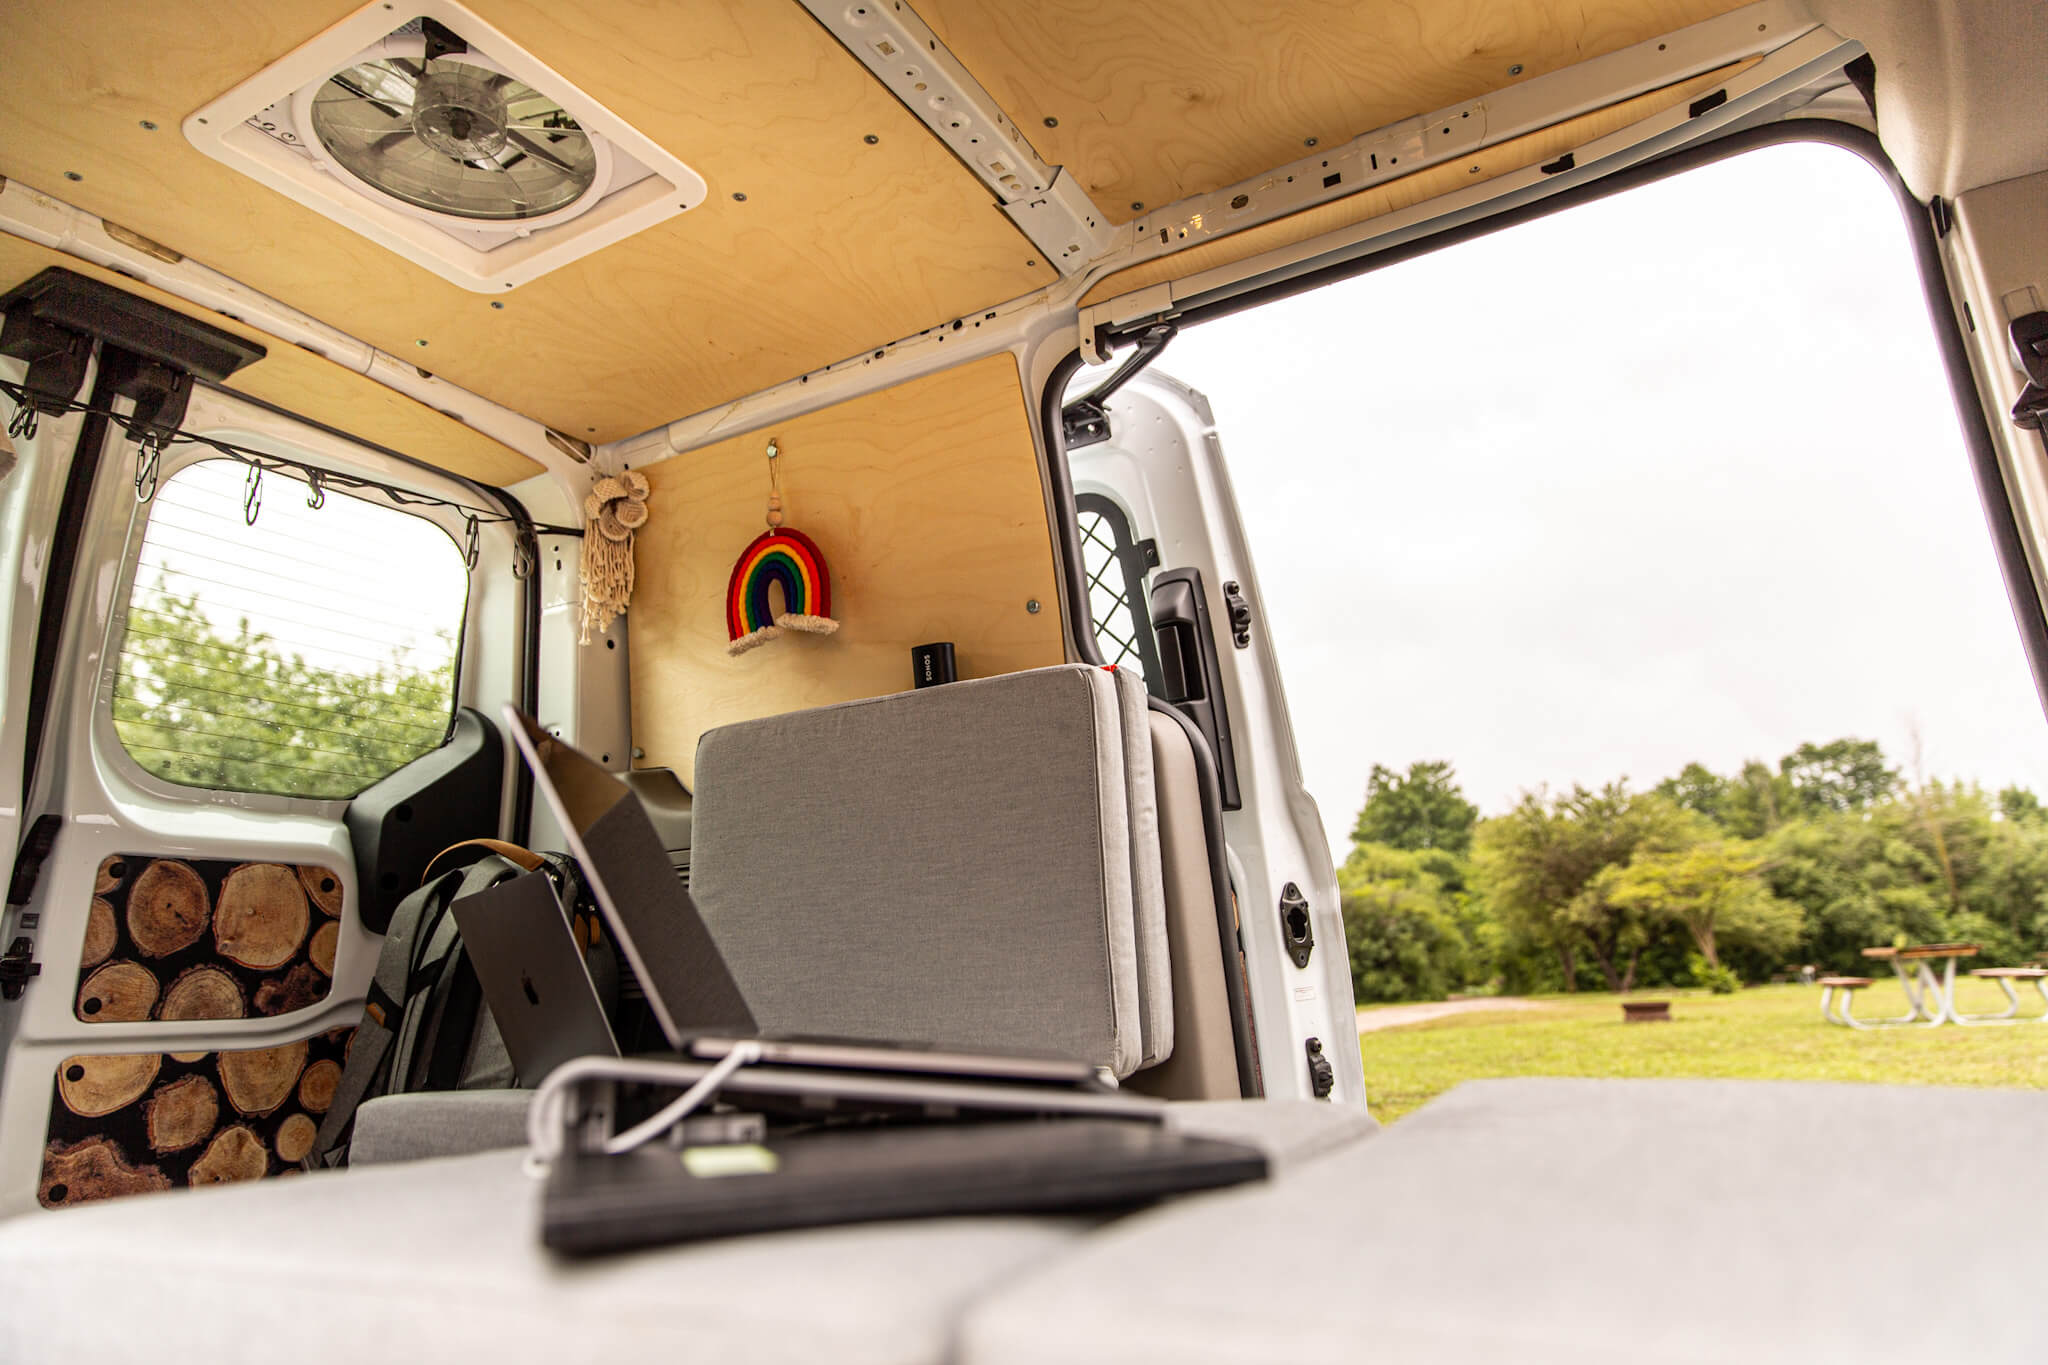
- We installed the fan in the back portion of the van, so that we could use the front windows for air intake and circulate air through the entire van.
- We got the roof vent adapter from DIYvan. With versions for most van models, this adapter mates with the ridges of the roof and provides a flat surface for the vent. If you don’t use this adapter, you’ll need to find some other way to smooth out the gaps between the ridges.
- We also got the internal backing frame and framing strips from DIYvan. You need something for the vent screws to dig into, and the framing strips give the flimsy roof sheet metal some additional support (as well as something for the ceiling panel to attach to). DIYvan makes custom framing strips for some van models that contour to the roof ridges, but not for the Transit Connect. Luckily the expanded PVC material is easy to shape with a hacksaw or coping saw.
- We cut the roof hole with electric metal shears for clean, tidy cuts. You might only use this tool once, but it’s not expensive, usually available on Amazon, and is much easier to handle than a grinder or jigsaw for this application. To insert the shears, I made a 1/2-inch hole with a step drill bit: this is a relatively expensive drill bit, but it’s the only way to cut clean holes in sheet metal, and it makes the job fast and easy (and only requires a single bit, even for large holes).
If we had to do it again: We wouldn’t change a thing. The remote control version might be handy, but it’s also something to misplace or lose.
Sound deadening: Noico 80 mil
Driving an empty cargo van is like driving a tin can. Even a light rain sounds like a heavy thunderstorm as the sheet metal amplifies the rain drops. Sound dampening isn’t necessarily essential, but it’s a small investment of time and money to make a quieter drive and a quieter sleep.
In the van conversion community, Noico 80 mil seems to be the go-to sound deadening product. It consists of 80 mils of self-adhesive automotive butyl with a foil upper layer. It’s readily available on Amazon. It cuts down to size easily with a utility knife to apply to any accessible metal surface (after a quick clean with alcohol). A roller is recommended during application to ensure proper adhesion and performance.
You don’t need to cover 100% of metal surfaces for sound deadening. Partial coverage is sufficient, especially considering this is a heavy product.
Do this first before moving on to insulation and wall/ceiling coverings.
If we had to do it again: We wouldn’t change a thing.
Insulation: Havelock wool
So far, we’ve kept the OEM floor of our Transit Connect, which is a soft rubbery-plastic material. We haven’t opened it up or added any insulation in the floor as part of our van conversion.
For the ceiling, wall panels, and doors, we used Havelock wool insulation. We initially planned to go with 3M Thinsulate, which is a popular insulation for van conversions, but Havelock wool was more affordable, it’s a natural product, and has all the wonderful properties of wool.
We ordered a 200 sq ft large bag of wool insulation and placed it wherever we could, including lining the ceiling and wall panels, stuffing it behind the door panels and cramming it into any accessible nook and channel. (Acknowledging that many of these are thermal bridges and the insulation won’t do much… but it will help with sound insulation, and we had plenty of wool to spare!)
If we had to do it again: I’m still tempted to get some insulation into the floor, but I’d use wool insulation again in a heartbeat.
Walls and ceiling: Baltic birch plywood
We love Scandinavian and Mid-Century Modern design, so we gravitated towards using baltic birch plywood to line the ceiling and wall panels.
Installing plywood panels is more challenging than installing shiplap or similar panels, because you’re working with spans of wood that cover large areas. Remembering that nothing in a van is flat or square, you need to find the shape of your plywood panel, test it with a cardboard prototype, cut the plywood, finish it, then install it. Shiplap can be installed horizontally or vertically to accommodate curves, and you can measure and adjust each piece one at a time.
But we love the clean look of baltic birch.
The other consideration was our small van. Shiplap needs to be fastened to furring strips installed on the ceiling and walls. We didn’t want to lose any interior space to furring strips. By going with sturdy baltic birch plywood, we could do larger spans that are fastened directly to the van along the edges, without any furring strips. (The exception was the supporting braces we installed on the ceiling to support the Maxxfan vent.)
If we had to do it again: I like the look of birch enough to do it again, but knowing it comes with a lot of sweat and tears. In a larger van, I’d do baltic bitch plywood with furring strips to simplify installation. If you don’t love the look of baltic birch and want a painted surface, then go with shiplap for your van conversion.
Door panels: Fabric and Mod Podge
Cargo van side and rear doors come with boring hardboard panels. In other van conversions I’ve seen people paint them (which can be fun). I’ve also seen people cover them with felt or marine fabric, and that was my initial direction.
But then I stumbled upon something that inspired me to use Mod Podge to cover the panels with some sewing fabric we had on hand.
I used Mod Podge Hard Coat for a more durable finish, but I honestly think any Mod Podge would have done the job. I removed the panels from the van and trimmed the fabric to wrap around each panel by about 1/2-inch. I applied a light coat of Mod Podge with a foam brush to the front of the panel to glue down the fabric, smoothed out any bubbles, then applied a coat of Mod Podge over the fabric to seal it. Once that dried, I applied a second final coat.
It took about 24 oz of Mod Podge to cover the panels for the 2 rear doors and 2 side doors.
If we had to do it again: This comes down to design aesthetics and personal preference. I’d happily do the Mod Podge again, but painting the hardboard would be easier (although not as “fun” as the fabric). The extra thickness from the added fabric makes re-installing the panels a bit tricky, so I’d leave a bit of clearance around the installation holes.
Decoration: Macrame
After the fan, insulation and panels, it was time to turn our attention to making the van into a home.
We added some macrame pieces from Hanging Knots to decorate the space.
Ask us anything about our Transit Connect van conversion in the comments below!
Leave a Reply