When we set out to do our Ford Transit Connect van conversion, we did a ton of research and looked at countless conversions for inspiration. We scrutinized conversion kits and custom designs for how they would serve our primary purpose: let us sleep out of the van when going on remote scuba diving trips. We weren’t going to be living out of the van full-time, but we needed lots of flexible storage for scuba tanks and cold-water scuba gear. No conversion kit provided enough storage, so we started planning a simple van conversion design that we could build ourselves.
We drew a few designs that revolved around a plywood sleeping platform. We love the look of plywood, so we played around with the platform supports being made of plywood, instead of lumber posts. But we quickly realized that even this was too restrictive: there was no way this would accommodate scuba tanks and gear.
Since we had a couple large Nanuk 960 hardcases for our drysuits, and since they’re crazy study, we figured that these could act as supports for the sleeping platform. And when we stay at campgrounds, the cases can go outside overnight, giving us more headroom. To get us on the road quickly, our focus was on this sleeping platform. (Installing a fan and insulating the walls would come later.)

It was now time to prototype. We picked up some 3/4-inch pre-finished birch plywood, cut it down to size for a quick test in the living room…


The test was successful, and we moved forward with this design approach!
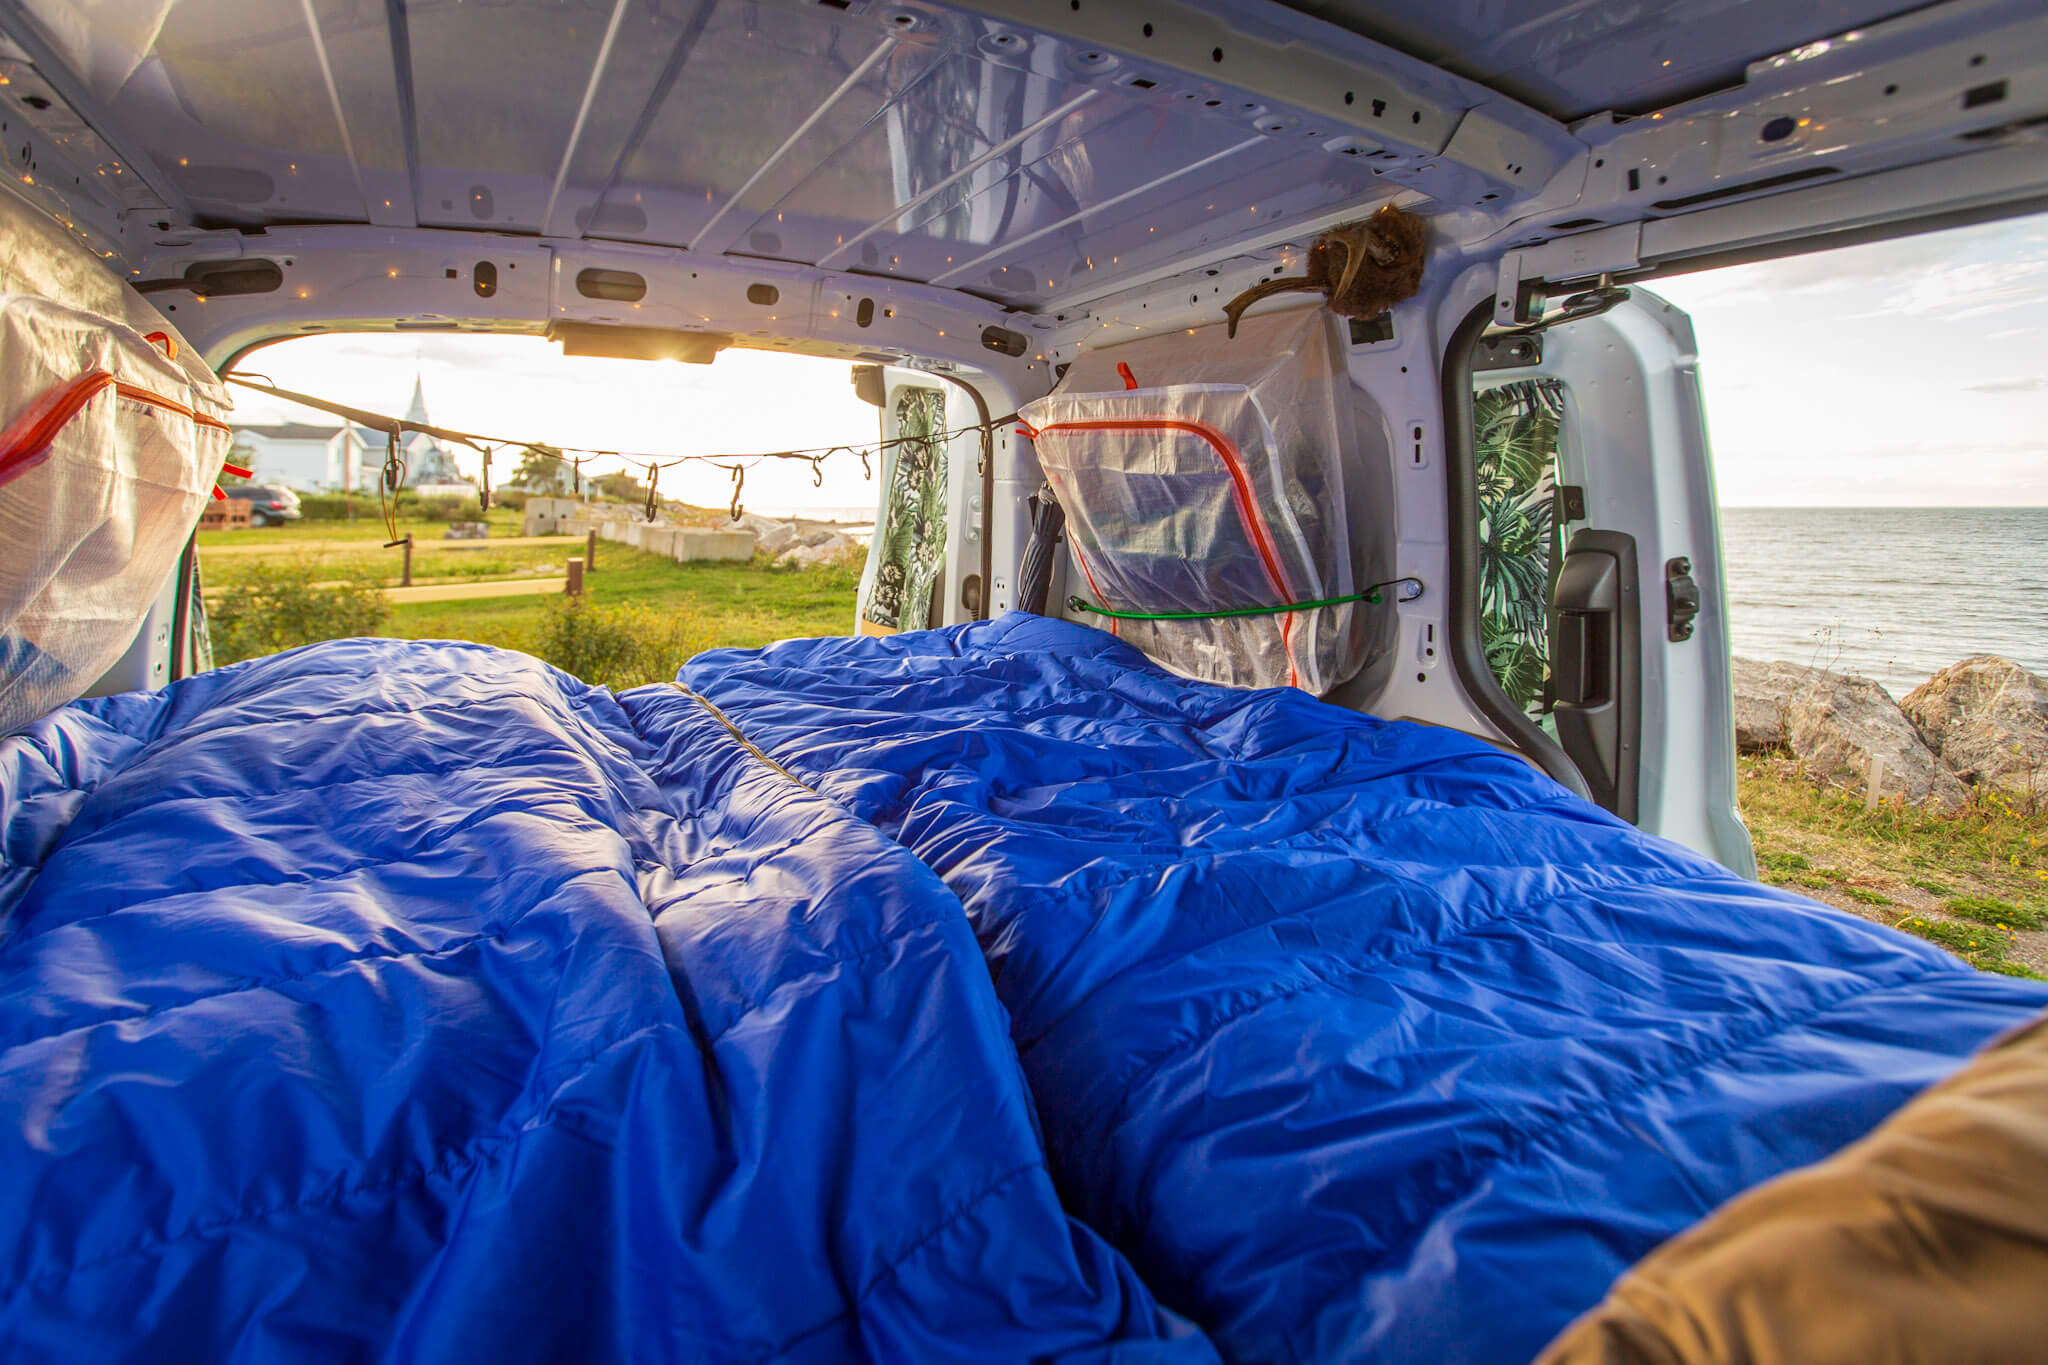
Being IKEA fans, we stumbled across their SLÄKT folding mattress. It’s designed for kids, but it was the perfect dimension for our van (24 inches wide and 6’4” long). Other companies make similar products, or this could be custom made (even DIY), but this was a quick and relatively affordable mattress solution for us. Folding mattresses like this are also designed to be multipurpose, serving also as a stool and lounge chair.
We used the mattress as a guide for the size of our sleeping platforms: at the lumber yard, we had them cut the full 4×8 sheet of pre-finished birch plywood down to 6’4”, and then cut that lengthwise into two 24” pieces. Most lumber yards will happily make cuts in plywood for you; the first few cuts are generally free or charge a nominal fee (well worth the price if you don’t have the proper equipment at home!).
These platforms with the raw cuts made fully functional sleeping platforms. But we wanted to add a few finishing touches. This included rounding the corners and edges, and making a few cutouts so the platforms could sit on the floor of the van and not block the tie-downs anchor rings. Being condo dwellers, we did all this in our living room with basic tools. We used a 4-inch hole saw to make cutouts for the tie-downs, a fine-toothed handsaw for all other cuts (making progressive cuts to approximate curves) and a wood rasp to smooth out raw cuts and round off all hard edges. We finished all cut edges with several rounds of sanding, going from a coarse grit to a fine grit.


Once all the carpentry work was done, we thoroughly cleaned the cut edges, and sealed them a few coats of black stain + polyurethane. Between coats we lightly sanded with a very fine sandpaper and wiped clean using tack cloth. We purchased pre-finished plywood so we wouldn’t have to seal the faces of the wood. We thought the finished faces would resist the black stain so it would be easy enough to wipe off excess, but this wasn’t the case. So it required a careful hand to apply. If I were to do this again, I’d get a clear polyurethane so the edges wouldn’t matter.
We let the stain/polyurethane dry a few days before loading the sleeping platforms into the van. Below we show the plywood sleeping platforms on the floor of the van, without the Nanuk cases.


And with that, we had a very simple camper van conversion. Just in time for our first #vanlife roadtrip!

So phase 1 was officially complete. Our plan was to test this out on a few trips, see what works (and was doesn’t) and iterate from here. This was only the beginning! Stay tuned for future updates!
Leave a Reply